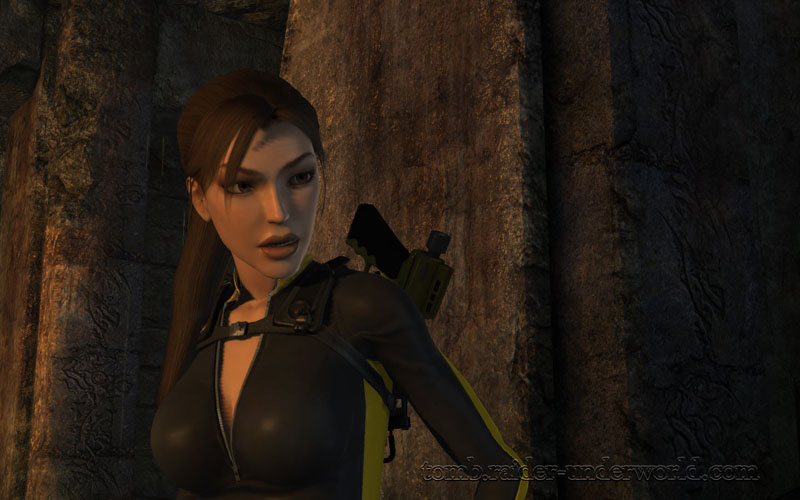
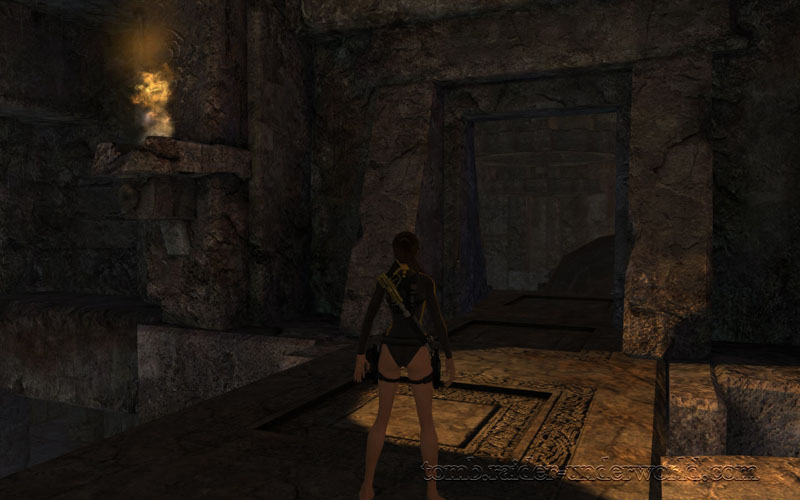
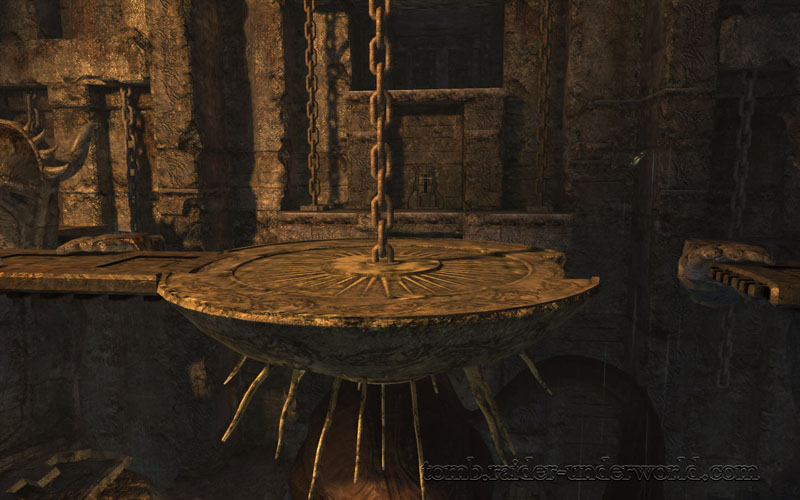
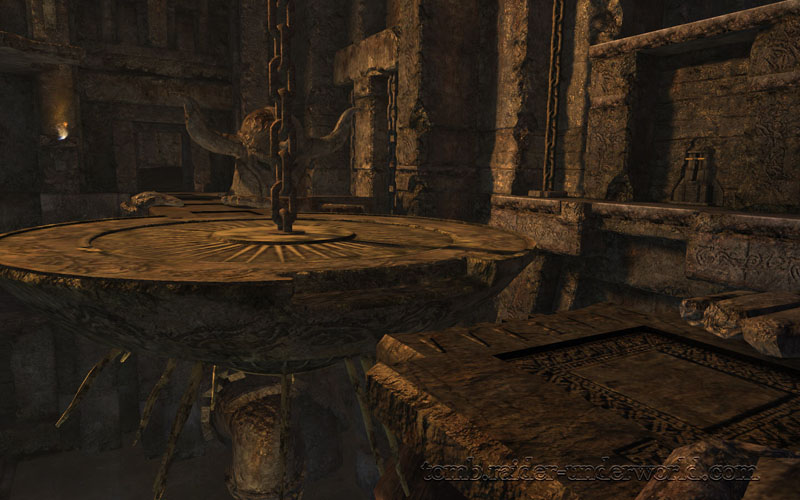
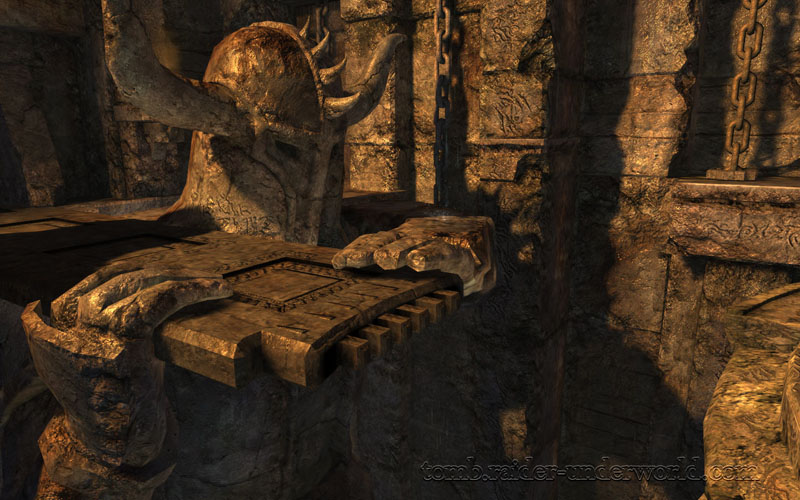
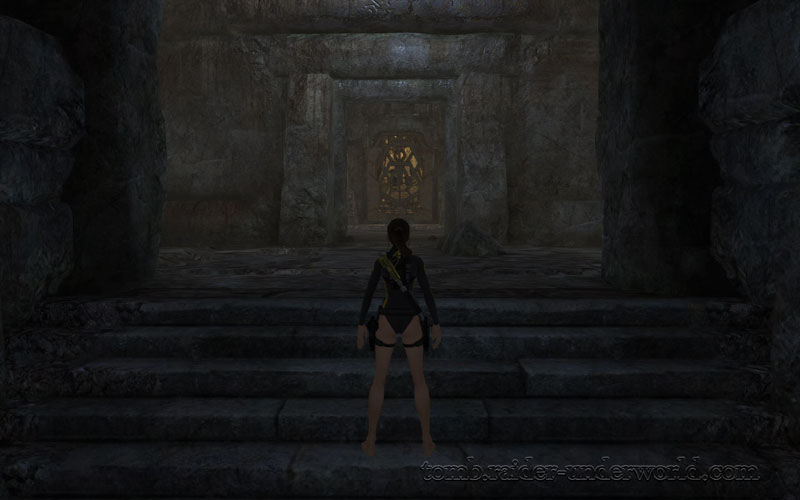
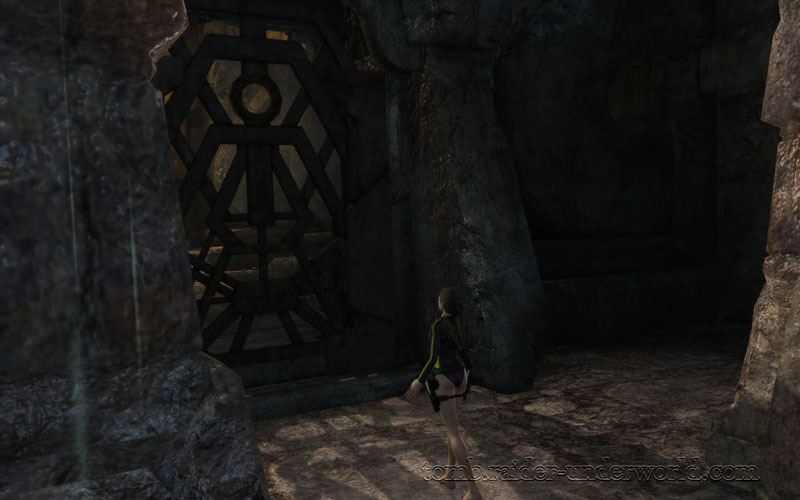
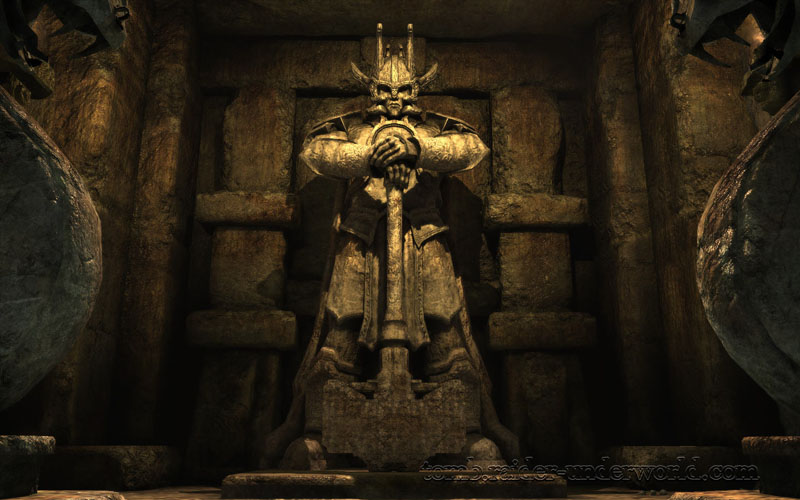
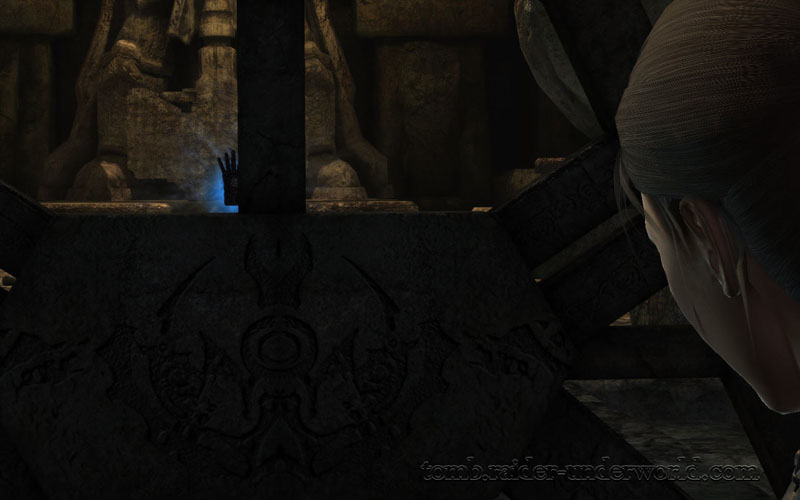
Tobm Raider Underworld photo

Tomb Raider Underworld

Tomb Raider Underworld Mediterranean Sea: Niflheim Visual Walkthrough

Mediterranean Sea - Niflheim

Tomb Raider Underworld - Visual Walkthrough

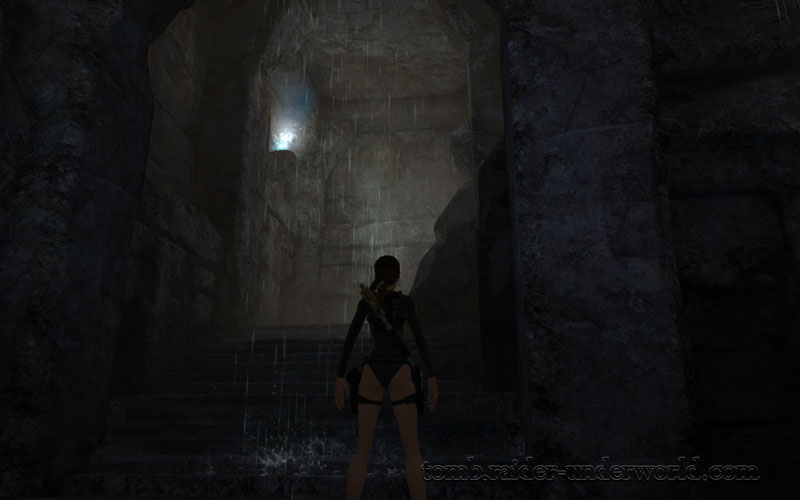
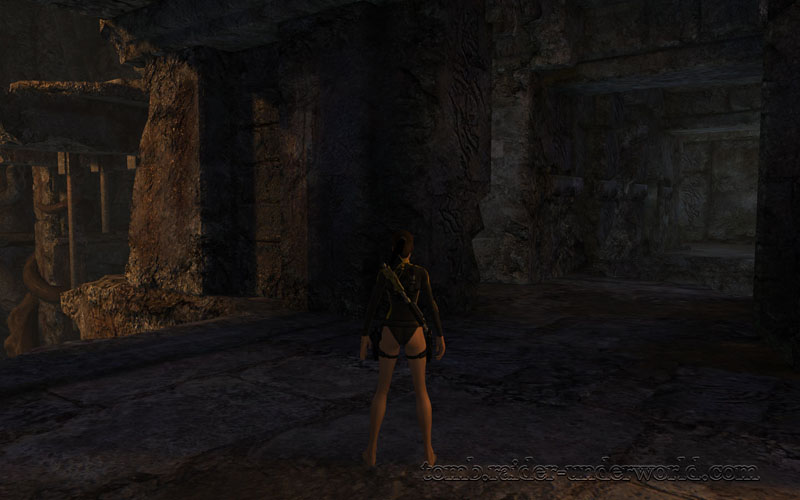
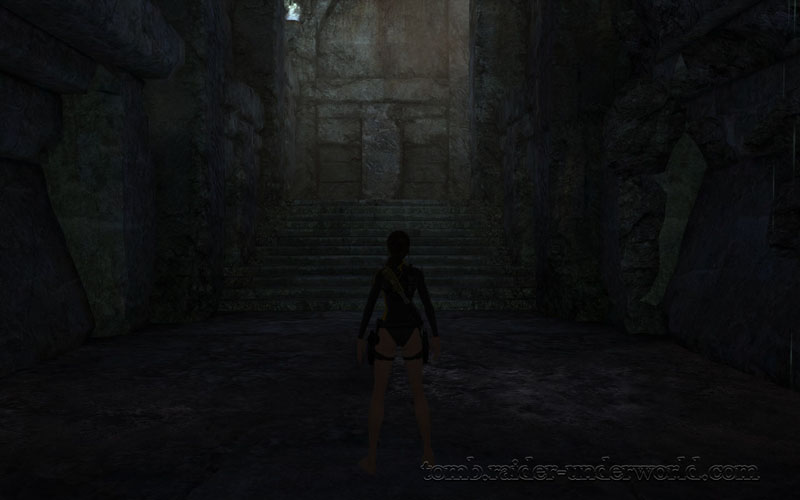
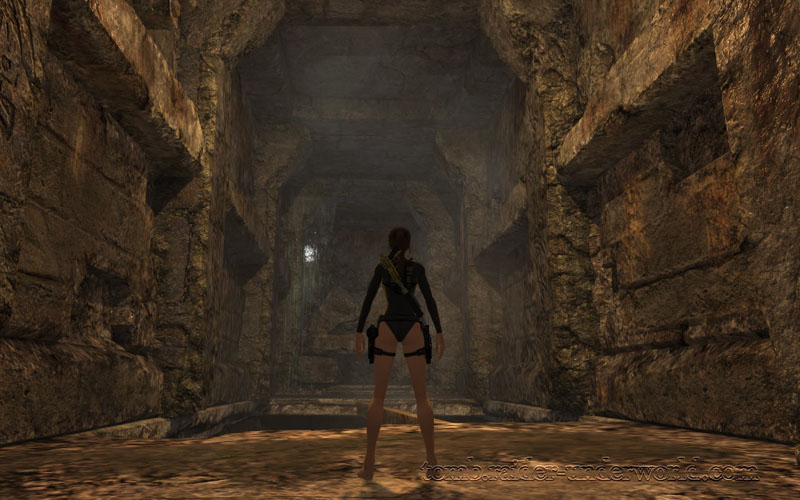
The first few challenges are pretty straightforward. Go up the stairs.
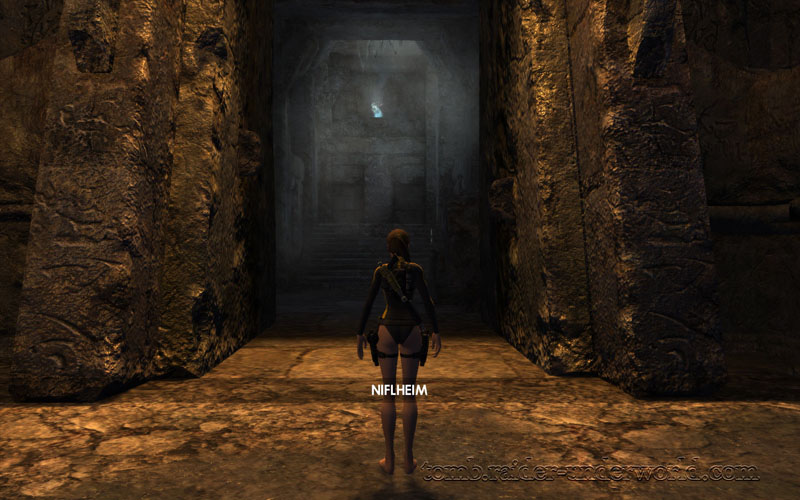
Tomb Raider Underworld walkthrough Mediteranean Sea - Niflheim screenshot

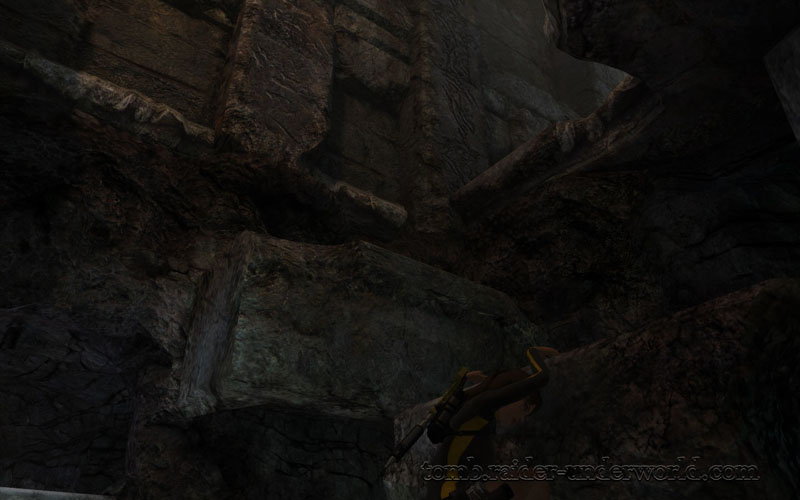
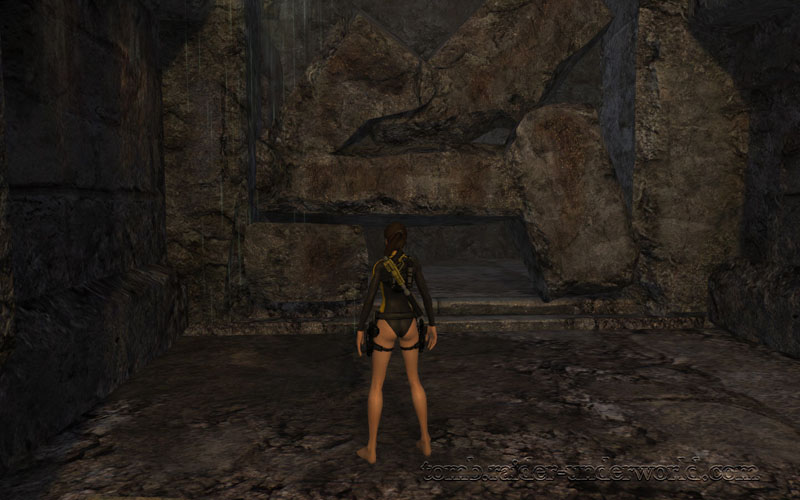
You'll reach a blockage. Just climb over.
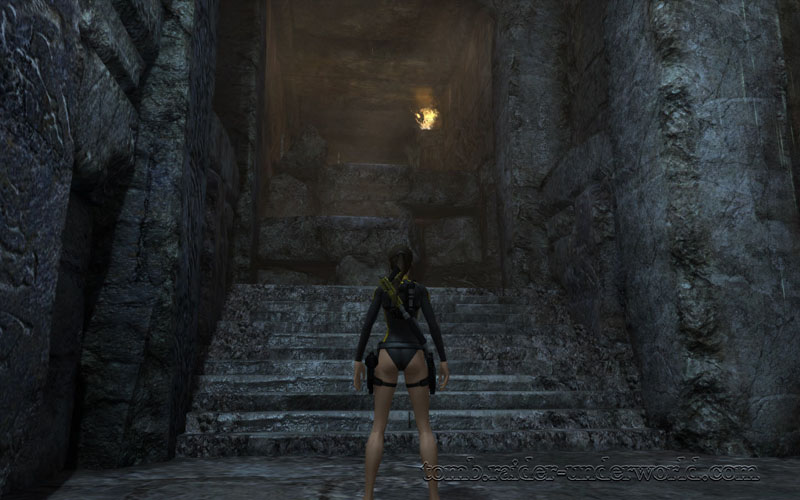
Tomb Raider Underworld walkthrough Mediteranean Sea - Niflheim screenshot

Jump on the ledge and continue (child's play).
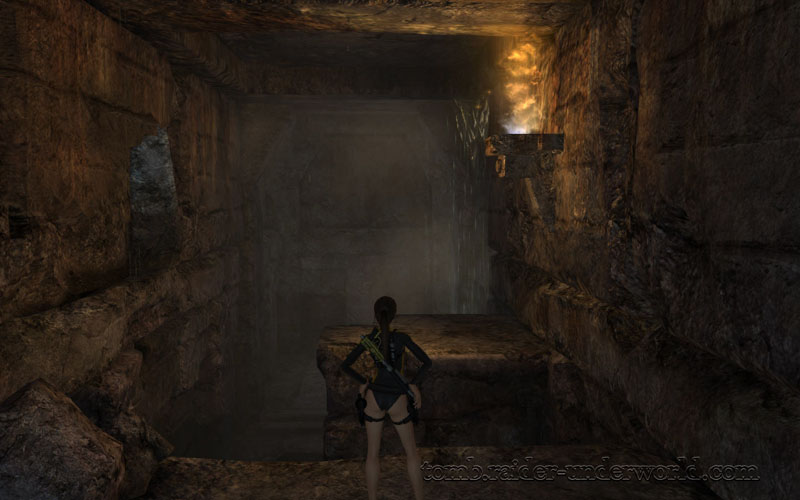
Tomb Raider Underworld walkthrough Mediteranean Sea - Niflheim screenshot

Tomb Raider Underworld walkthrough Mediteranean Sea - Niflheim screenshot

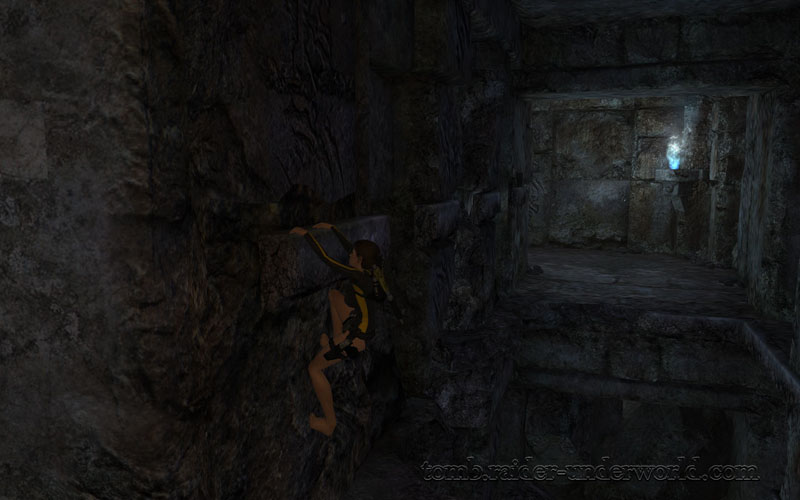
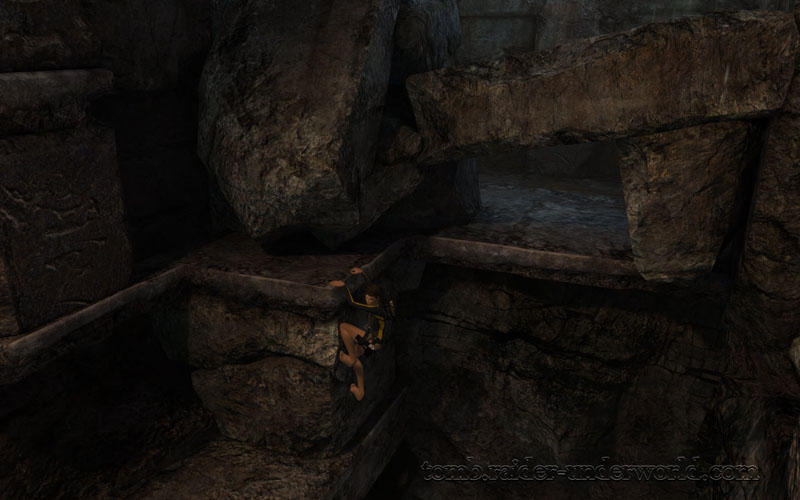
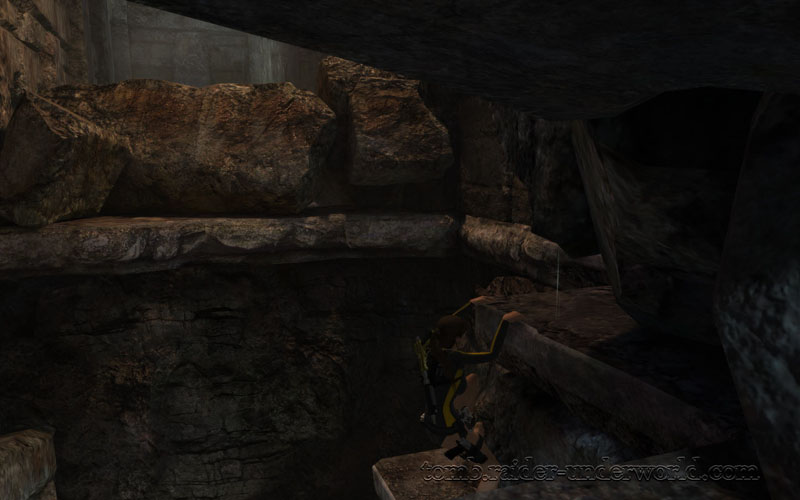
At the next block, crouch through the opening in the rocks. Go forward. Lara will grab onto the ledge. Go sideways until you reach the platform, and let go (Ctrl key).
Tomb Raider Underworld walkthrough Mediteranean Sea - Niflheim screenshot

Tomb Raider Underworld walkthrough Mediteranean Sea - Niflheim screenshot

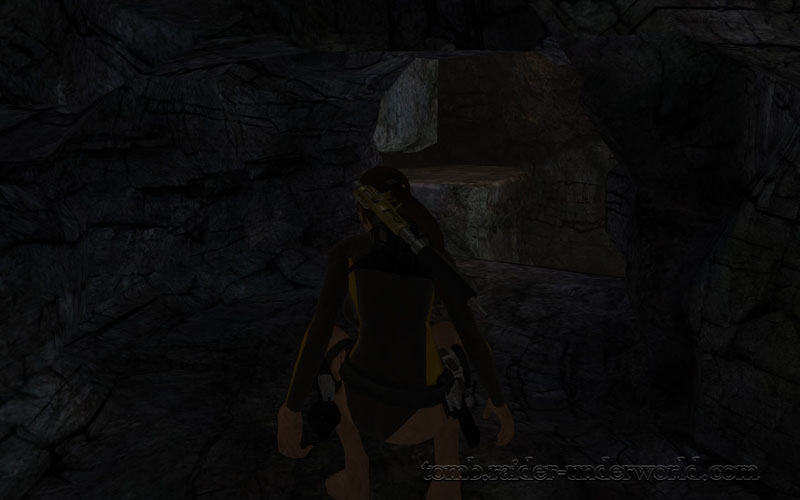
From there, go down further until you get to the bottom of the pit. You'll notice a tunnel. Go through it!
Tomb Raider Underworld walkthrough Mediteranean Sea - Niflheim screenshot

Climb back up.

Tomb Raider Underworld walkthrough Mediteranean Sea - Niflheim screenshot

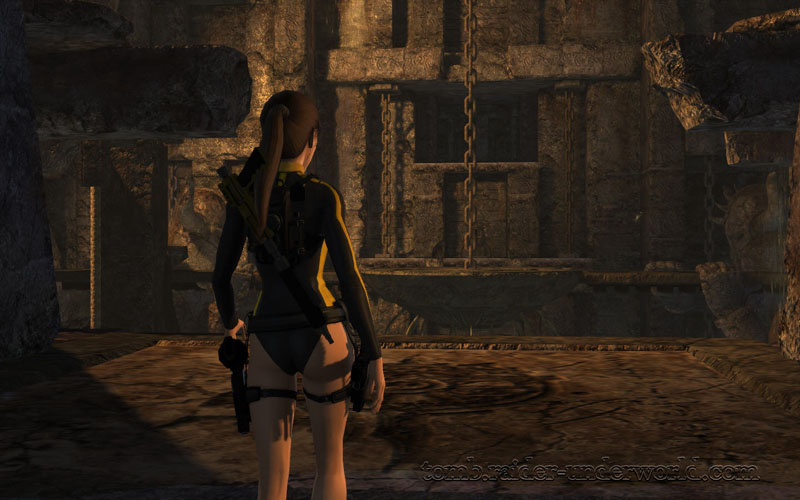
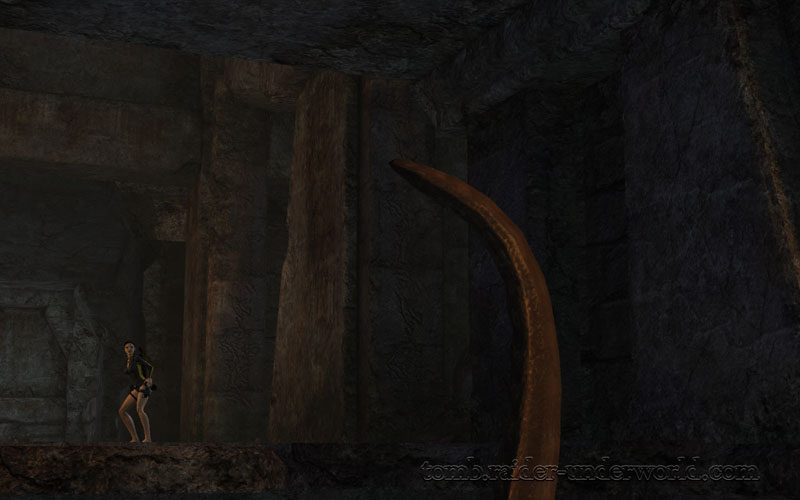
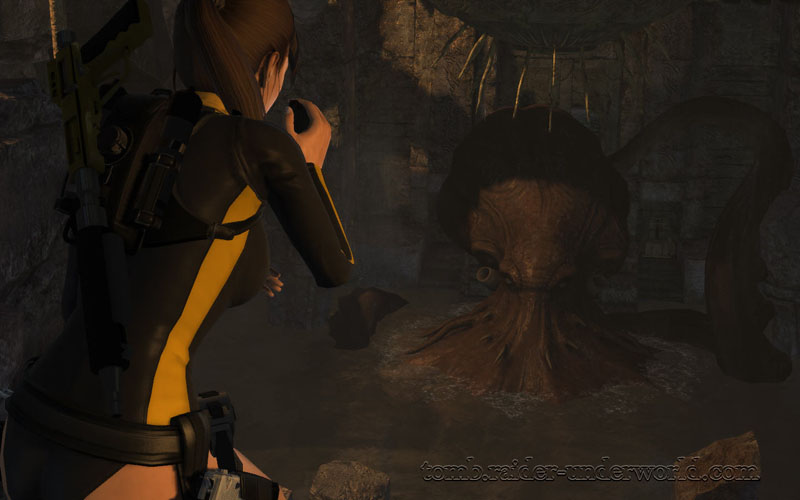
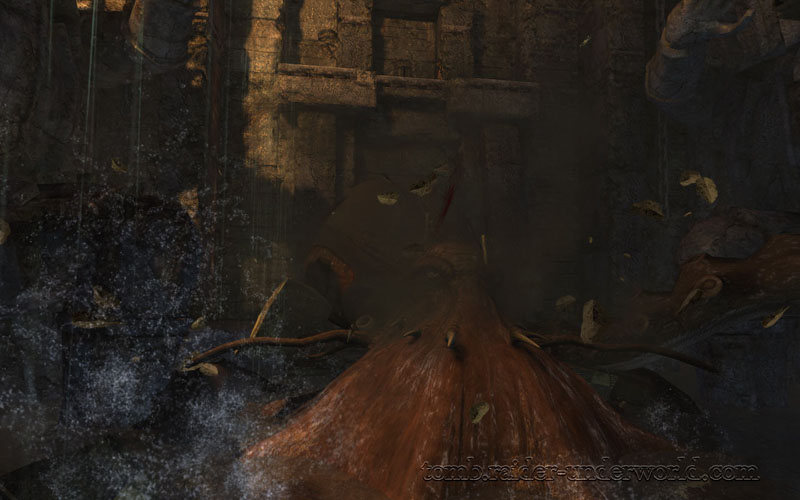
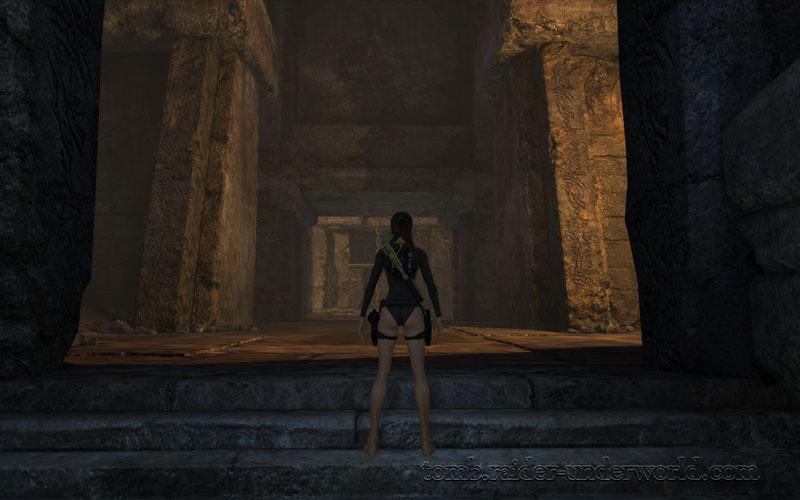
Continue until you reach the chamber with the giant Kraken.
Tomb Raider Underworld walkthrough Mediteranean Sea - Niflheim screenshot

Tomb Raider Underworld walkthrough Mediteranean Sea - Niflheim screenshot

Tomb Raider Underworld walkthrough Mediteranean Sea - Niflheim screenshot

Tomb Raider Underworld walkthrough Mediteranean Sea - Niflheim screenshot

Tomb Raider Underworld walkthrough Mediteranean Sea - Niflheim screenshot

Go to the right.

Tomb Raider Underworld walkthrough Mediteranean Sea - Niflheim screenshot

Use the ledges to get over the pit.

Tomb Raider Underworld walkthrough Mediteranean Sea - Niflheim screenshot

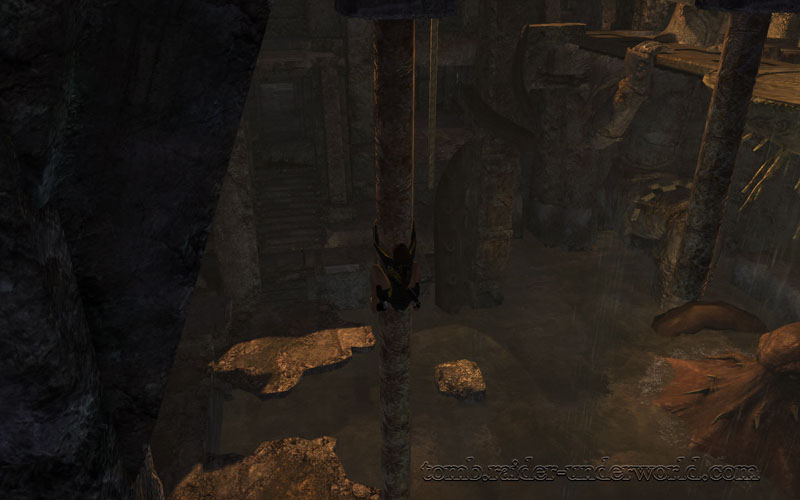
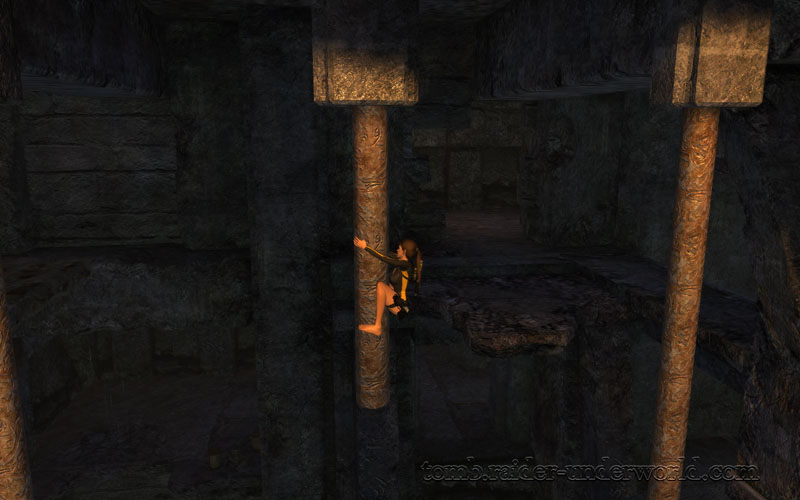
You'll reach some pillars on which you can grab onto.
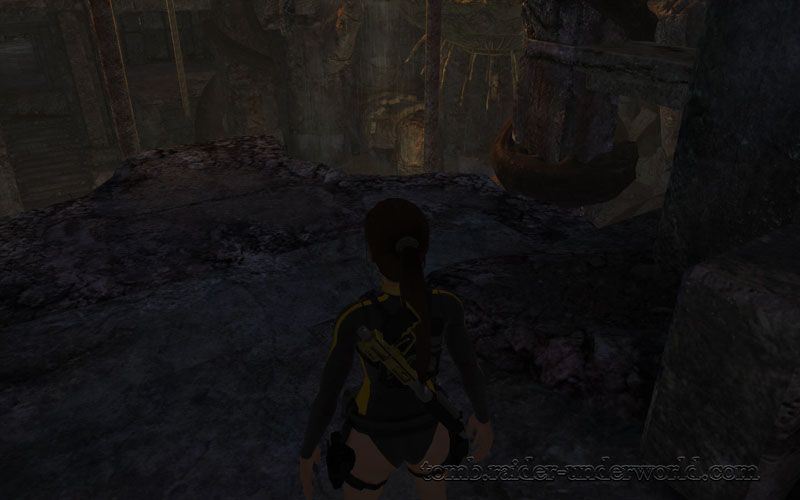
Tomb Raider Underworld walkthrough Mediteranean Sea - Niflheim screenshot

Tomb Raider Underworld walkthrough Mediteranean Sea - Niflheim screenshot

Jump from one to the other, until you reach the last one.
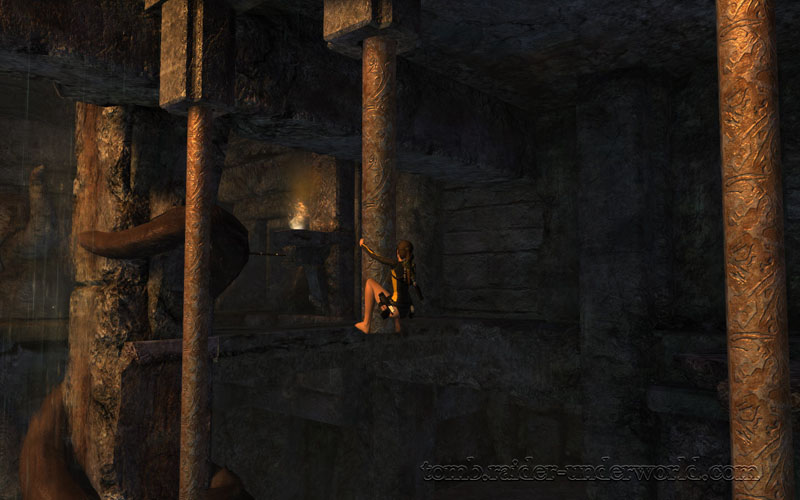
Tomb Raider Underworld walkthrough Mediteranean Sea - Niflheim screenshot

Tomb Raider Underworld walkthrough Mediteranean Sea - Niflheim screenshot

Then get to about the same level with the ledge on the other side and jump.
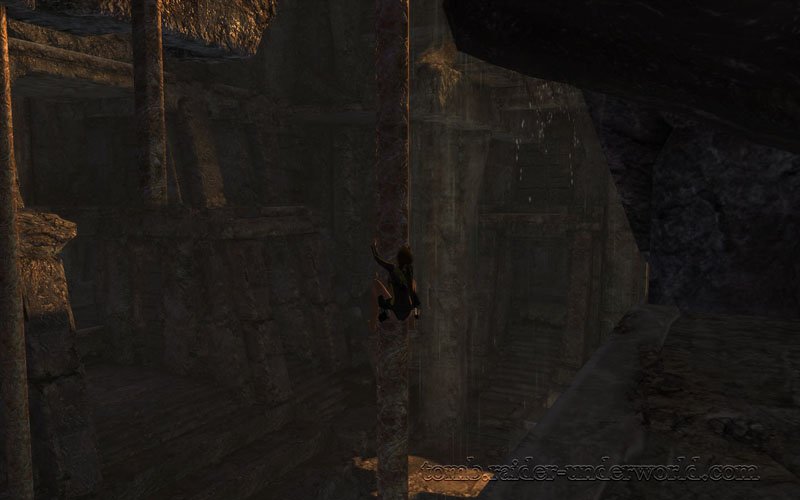
Tomb Raider Underworld walkthrough Mediteranean Sea - Niflheim screenshot

Tomb Raider Underworld walkthrough Mediteranean Sea - Niflheim screenshot

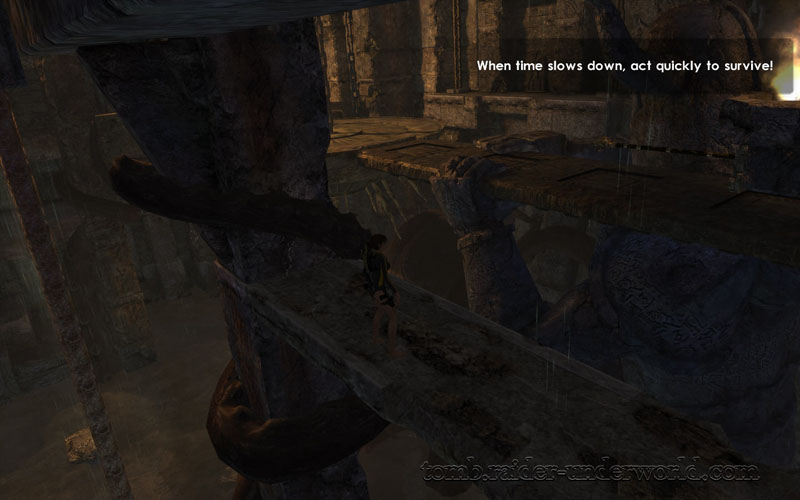
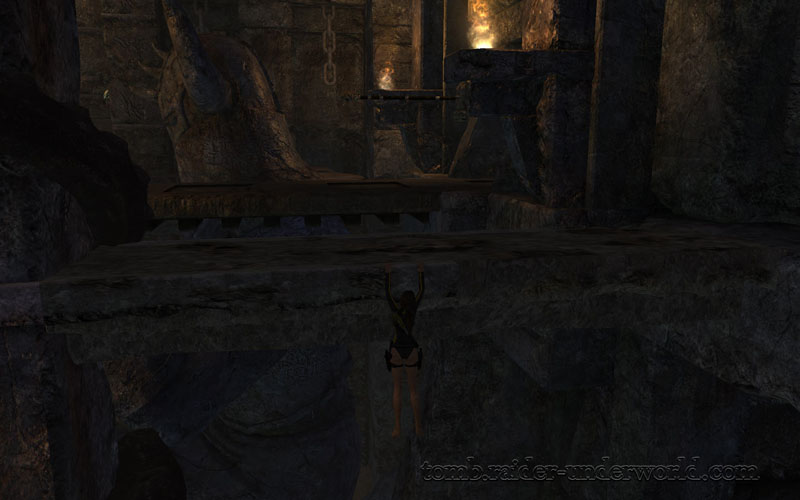
Go sideways. WATCH OUT. In the moment you go on the platform, time will slow down and you must jump so that you grab the pillar.
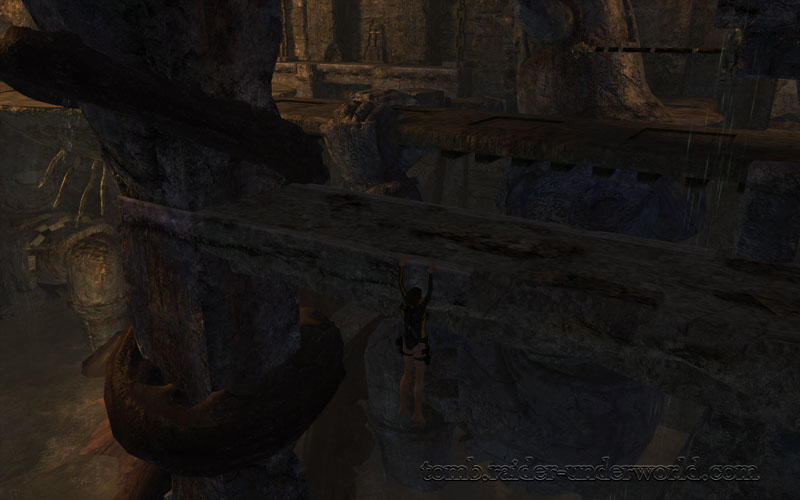
Tomb Raider Underworld walkthrough Mediteranean Sea - Niflheim screenshot

Tomb Raider Underworld walkthrough Mediteranean Sea - Niflheim screenshot

Tomb Raider Underworld walkthrough Mediteranean Sea - Niflheim screenshot

Get on the bridge.

Tomb Raider Underworld walkthrough Mediteranean Sea - Niflheim screenshot

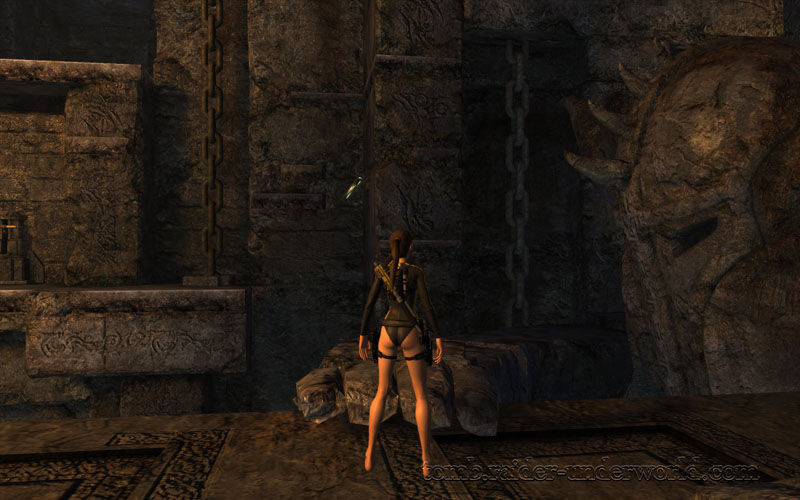
You must first separate the two sides of the bridge from the center. You�ll do this by getting to the chambers to the side, and activating the lever.
Tomb Raider Underworld walkthrough Mediteranean Sea - Niflheim screenshot

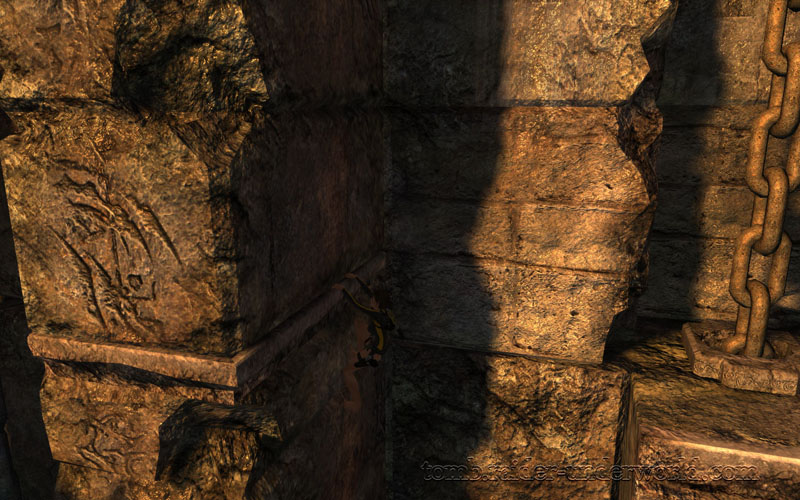
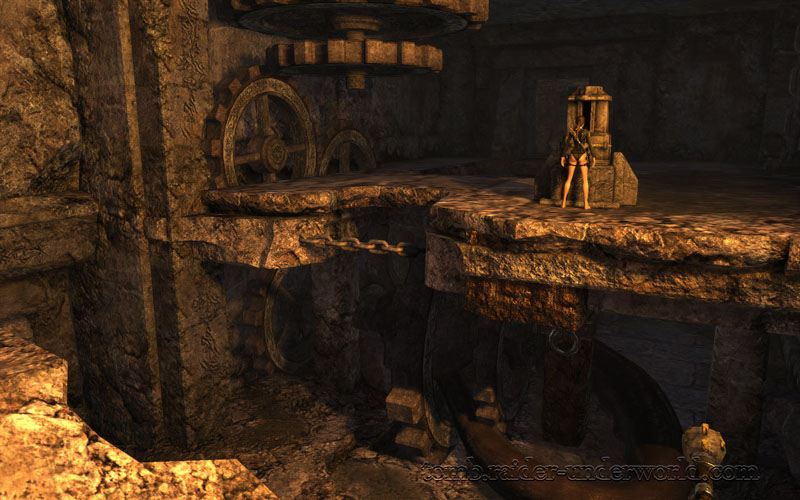
In the one on the right you must first get in a position to grapple the ring, and pull it, to crush the Kraken�s tentacle.
Tomb Raider Underworld walkthrough Mediteranean Sea - Niflheim screenshot

Tomb Raider Underworld walkthrough Mediteranean Sea - Niflheim screenshot

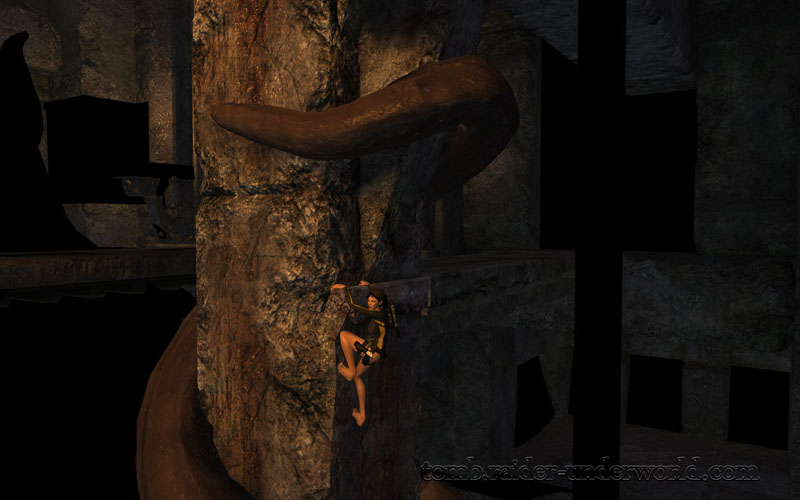
To reach it use the ledge on the wall, and the horizontal pillar.

Tomb Raider Underworld walkthrough Mediteranean Sea - Niflheim screenshot

Tomb Raider Underworld walkthrough Mediteranean Sea - Niflheim screenshot

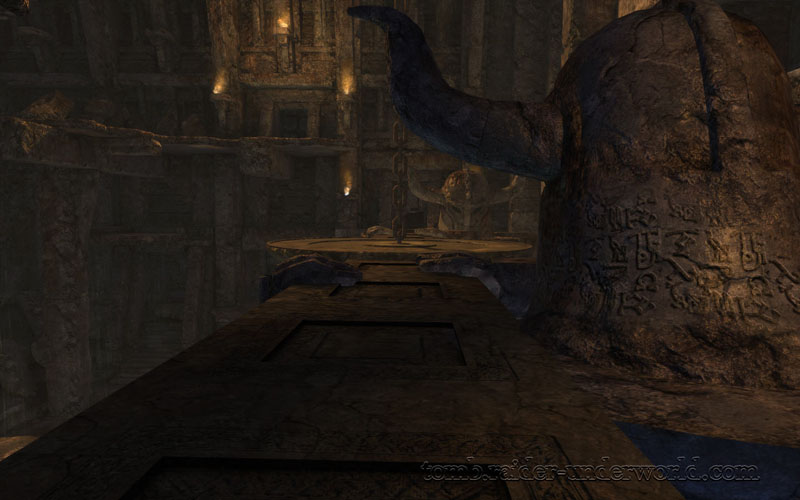
Grapple and pull (E key). The bridge will now retract.
Tomb Raider Underworld walkthrough Mediteranean Sea - Niflheim screenshot

Tomb Raider Underworld walkthrough Mediteranean Sea - Niflheim screenshot

Tomb Raider Underworld walkthrough Mediteranean Sea - Niflheim screenshot

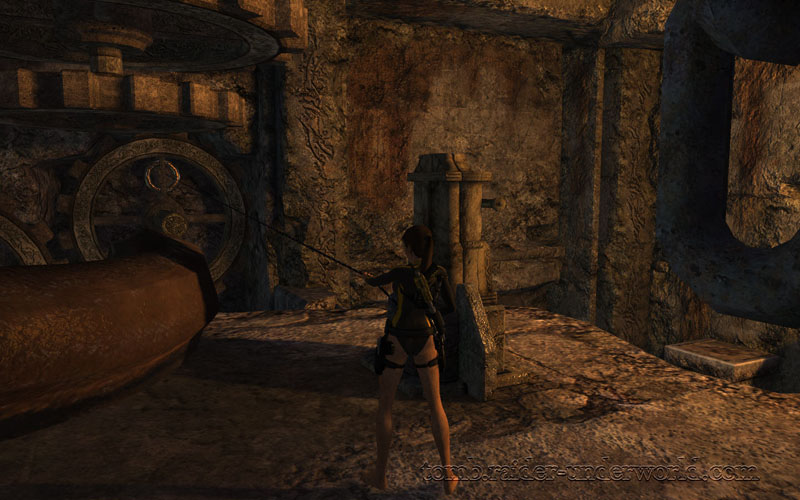
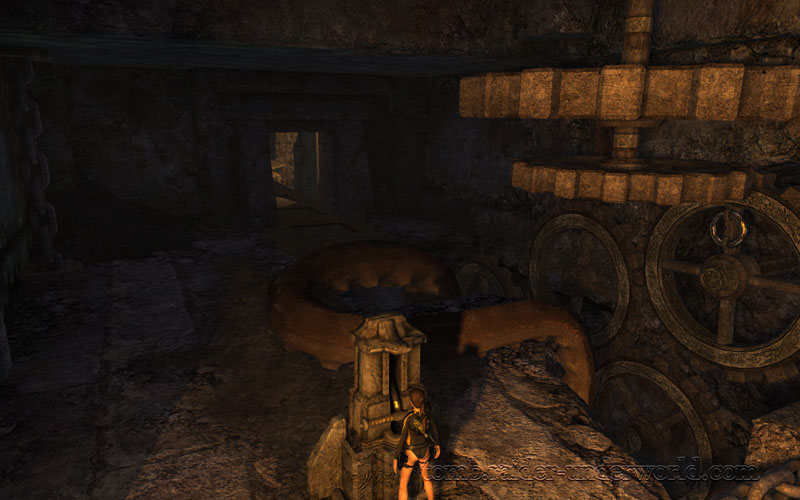
In the other room it's as simple as grappling and pulling the wheel. Then just engage the lever.
Tomb Raider Underworld walkthrough Mediteranean Sea - Niflheim screenshot

Tomb Raider Underworld walkthrough Mediteranean Sea - Niflheim screenshot

Tomb Raider Underworld walkthrough Mediteranean Sea - Niflheim screenshot

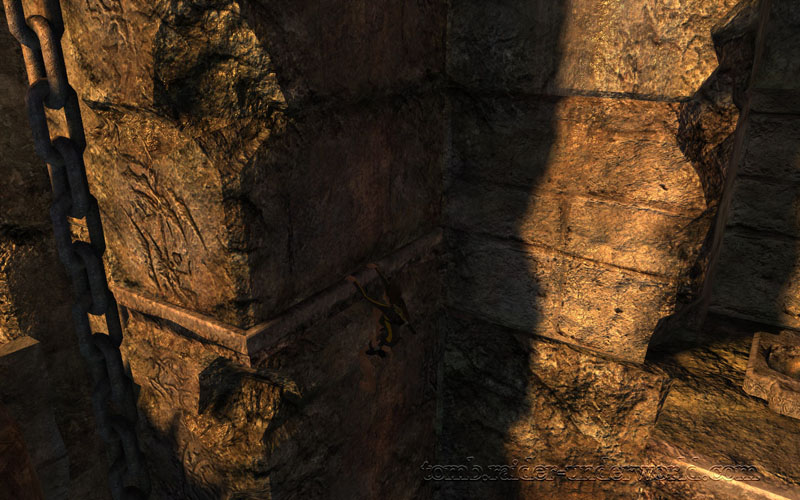
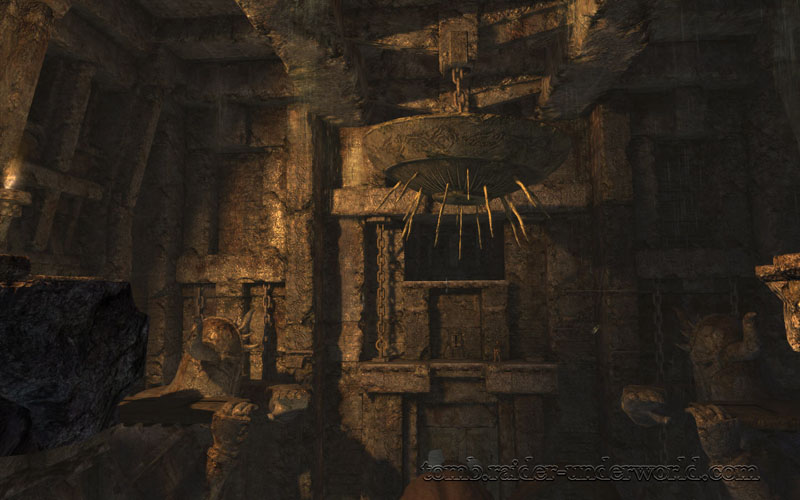
Go to the center lever and activate it. The chandelier will rise. Using the Z key shoot the loosened rings on each side of the chain. It will crush the Kraken.
Tomb Raider Underworld walkthrough Mediteranean Sea - Niflheim screenshot

Tomb Raider Underworld walkthrough Mediteranean Sea - Niflheim screenshot

Tomb Raider Underworld walkthrough Mediteranean Sea - Niflheim screenshot

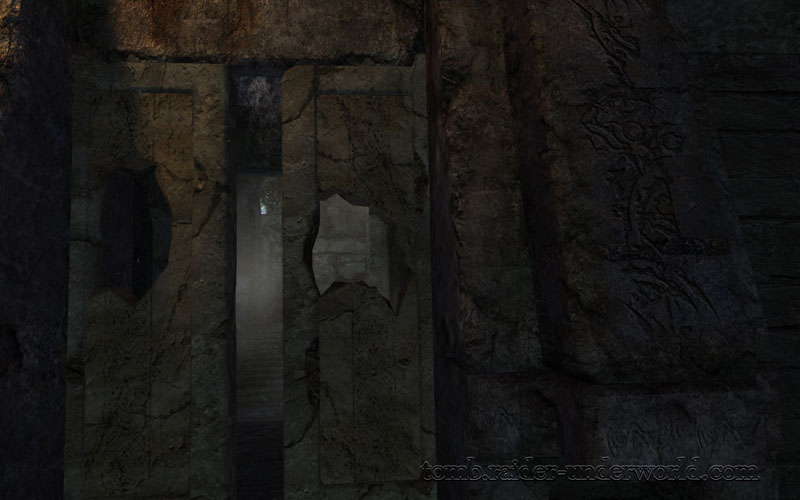
Grapple and go down to where the Kracken was. Pull the lever.
Tomb Raider Underworld walkthrough Mediteranean Sea - Niflheim screenshot

Tomb Raider Underworld walkthrough Mediteranean Sea - Niflheim screenshot

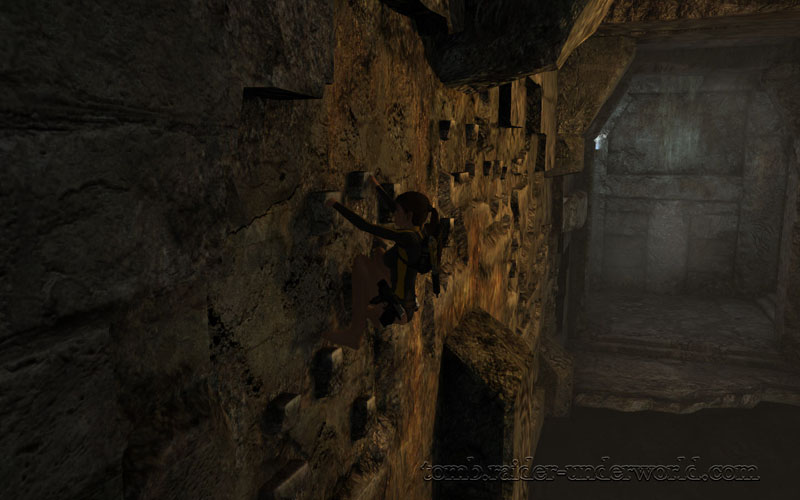
Proceed and climb on the wall. Use the directional keys to go in the direction of the grips.
Tomb Raider Underworld walkthrough Mediteranean Sea - Niflheim screenshot

Go forward. Don't forget to balance.

Tomb Raider Underworld walkthrough Mediteranean Sea - Niflheim screenshot

That's it!

Tomb Raider Underworld walkthrough Mediteranean Sea - Niflheim screenshot

Tomb Raider Underworld walkthrough Mediteranean Sea - Niflheim screenshot

Tomb Raider Underworld walkthrough Mediteranean Sea - Niflheim screenshot

Tomb Raider Underworld walkthrough Mediteranean Sea - Niflheim screenshot

Tomb Raider Underworld walkthrough Mediteranean Sea - Niflheim screenshot

Tomb Raider Underworld walkthrough Mediteranean Sea - Niflheim screenshot

« The Path to Avalon | The Norse Connection »