Tobm Raider Underworld photo

Tomb Raider Underworld

Tomb Raider Underworld Mediterranean Sea: The Path to Avalon Visual Walkthrough

Mediterranean Sea - The Path to Avalon

Tomb Raider Underworld - Visual Walkthrough

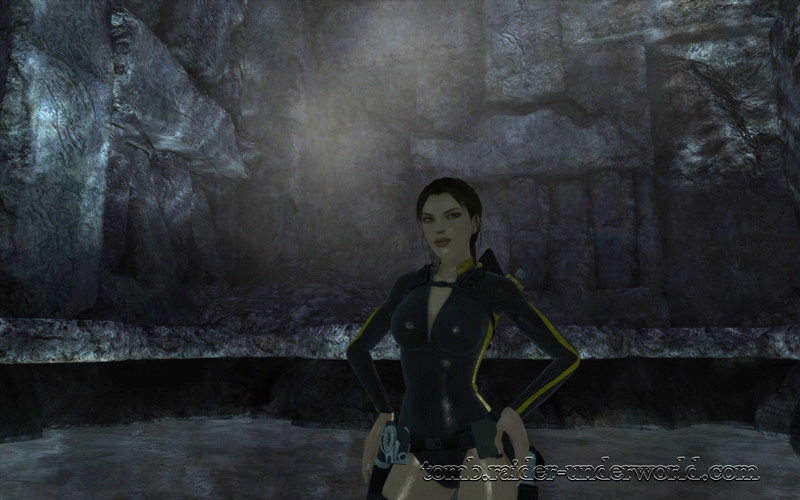
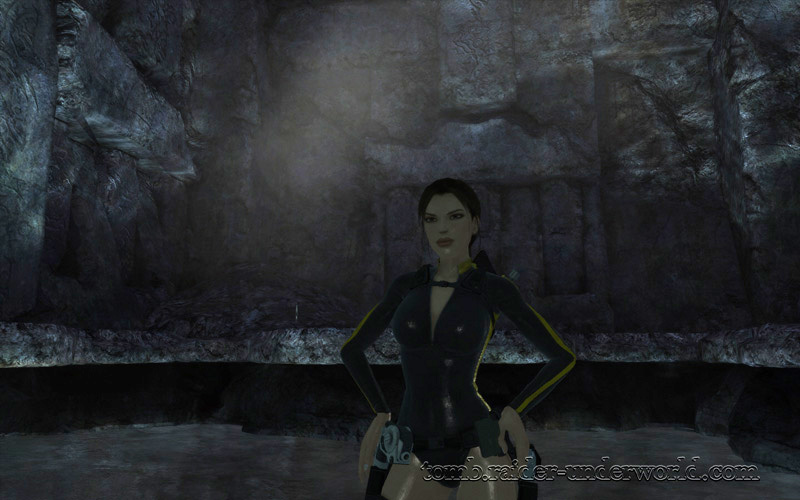
Welcome to the first level ... and to the beautiful Mediterranean Sea. I bet you'll spend some time admiring Lara's outfil .. especially in the cinematic .. so take your time.

Tomb Raider Underworld walkthrough Mediteranean Sea - The Path to Avalon screenshot

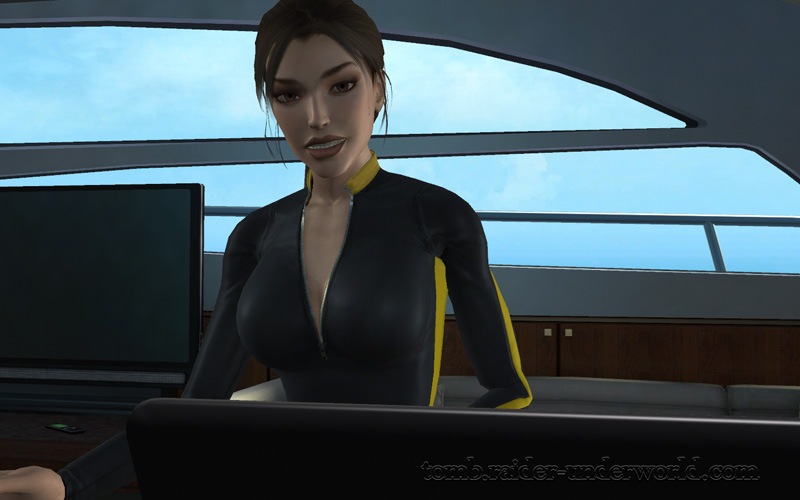
And yeah, Lara is much more sexy in this game.

Tomb Raider Underworld walkthrough Mediterannean Sea - The Path to Avalon screenshot

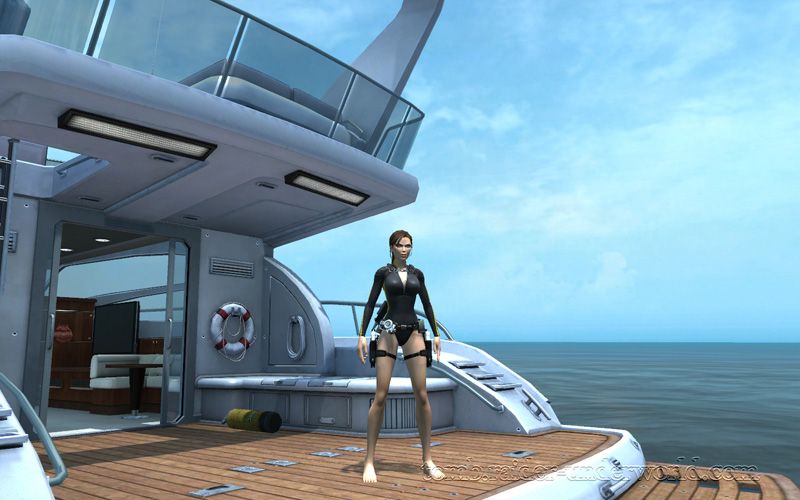
When you're done drooling, just jump into the water. You can kill the sharks using your pistols or even better the speargun (yeah, Lara finally figured out how to use the pistols under water).

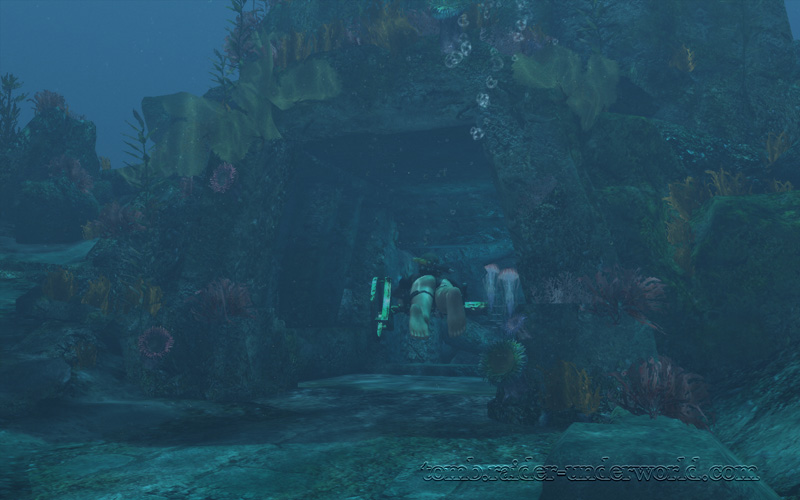
Use your sonar to find the entrance to the big ... rock thing under the water, you should find it pretty much to the opposite side from where you start the level. There are 2 entrances though, one to the main big rock and one (just next to it) for a much smaller one. You should enter the small one first.

Tomb Raider Underworld walkthrough Mediterannean Sea - The Path to Avalon sonar screenshot

If you enter the large cavern you will need to get out and enter the small one after.

Tomb Raider Underworld walkthrough Mediterannean Sea - The Path to Avalon sonar screenshot

Right, I assume you go in the small one now. Use F to get some light into the room, it will really help .. and make your video card cry.

Tomb Raider Underworld walkthrough Mediterannean Sea - The Path to Avalon cavern screenshot

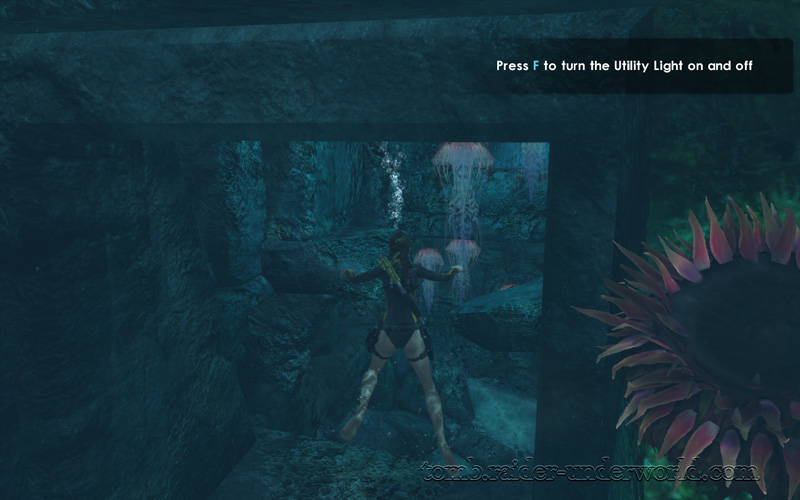
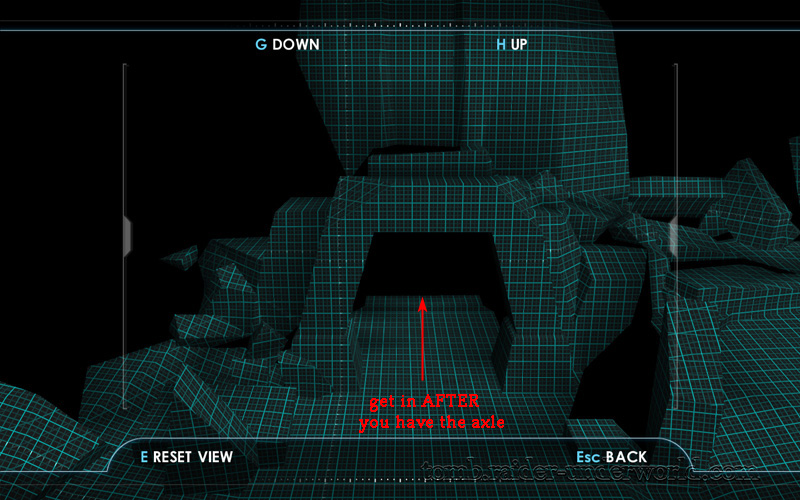
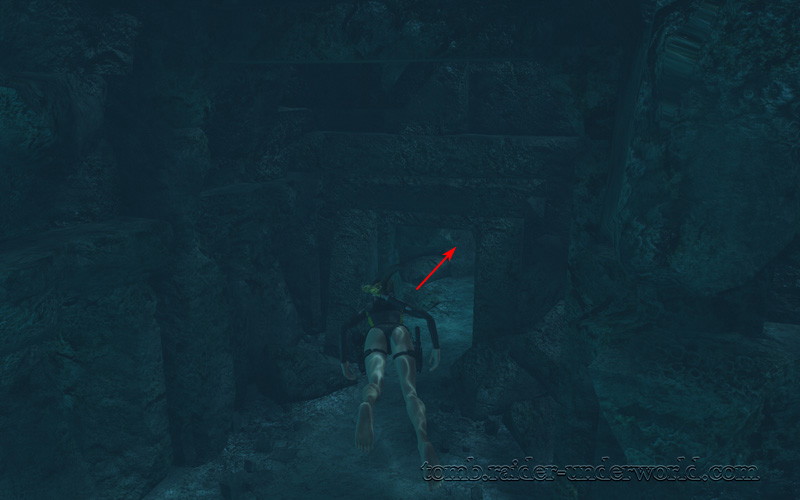
Just follow the path and avoid the jelly fish, at the end of the cavern you will find the first axle. Grab it using E and head for the big cavern.

Tomb Raider Underworld walkthrough Mediterannean Sea - The Path to Avalon axle screenshot

Tomb Raider Underworld walkthrough Mediterannean Sea - The Path to Avalon axle grab screenshot

Tomb Raider Underworld walkthrough Mediterannean Sea - The Path to Avalon Lara axle screenshot

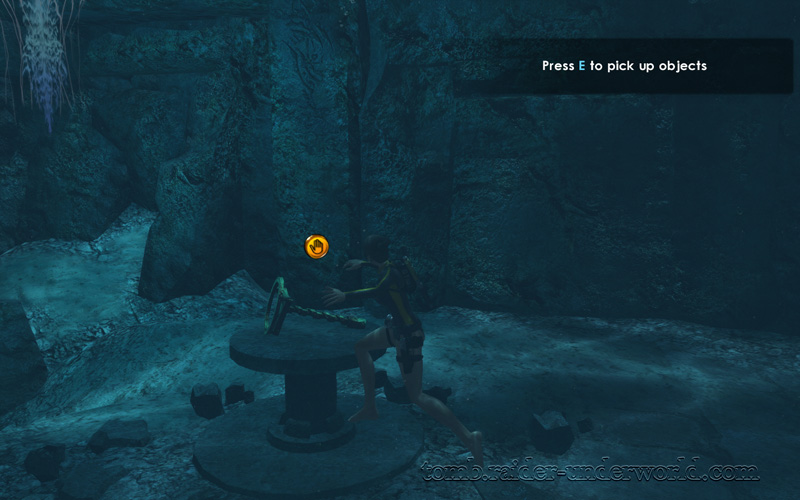
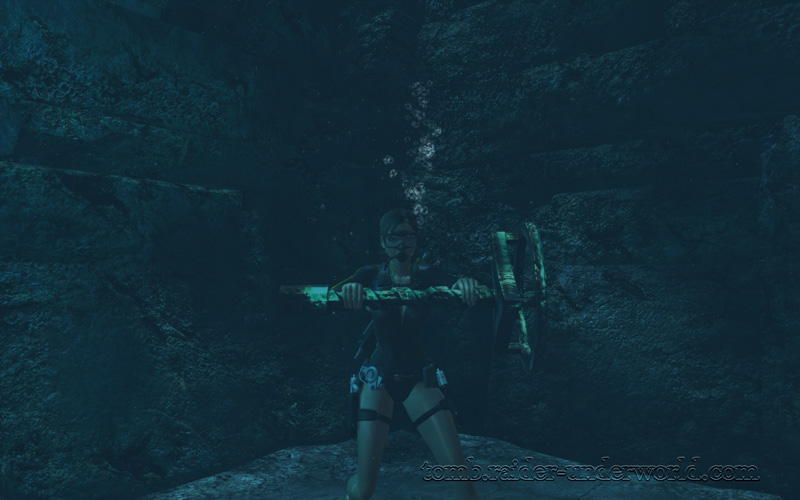
Get into the main/large cavern with the axle in your hands and put it in either right or left wheel center. You will find a second axle on a table in the same room, put that one in the other center.

Tomb Raider Underworld walkthrough Mediterannean Sea - The Path to Avalon  axle cavern screenshot

Tomb Raider Underworld walkthrough Mediterannean Sea - The Path to Avalon  axle wheel screenshot

Tomb Raider Underworld walkthrough Mediterannean Sea - The Path to Avalon  axle center screenshot

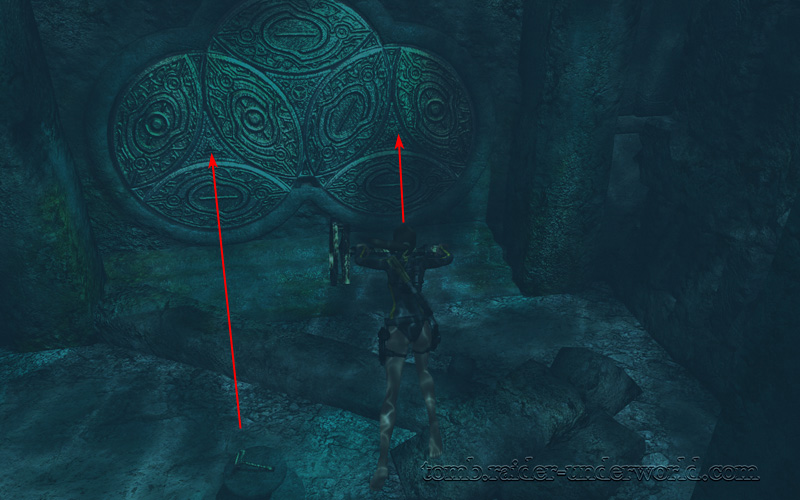
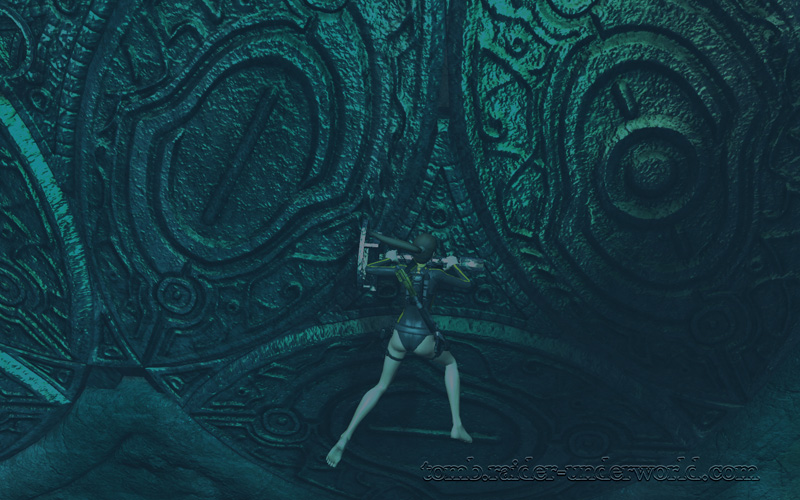
Now, you can turn the wheels in order to complete your first puzzle. The goal is quite simple, have the parts with cercle inside in the top wheel. Just look at the image to get an idea.

Tomb Raider Underworld walkthrough Mediterannean Sea - The Path to Avalon  wheel screenshot

Tomb Raider Underworld walkthrough Mediterannean Sea - The Path to Avalon  wheel puzzle screenshot

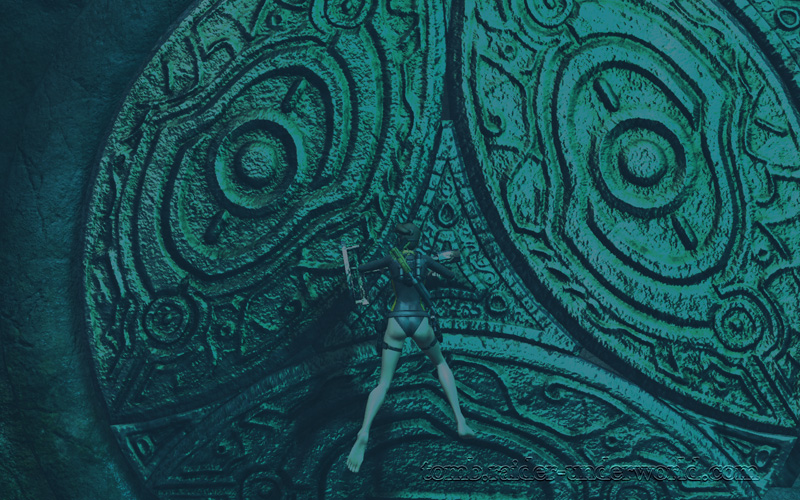
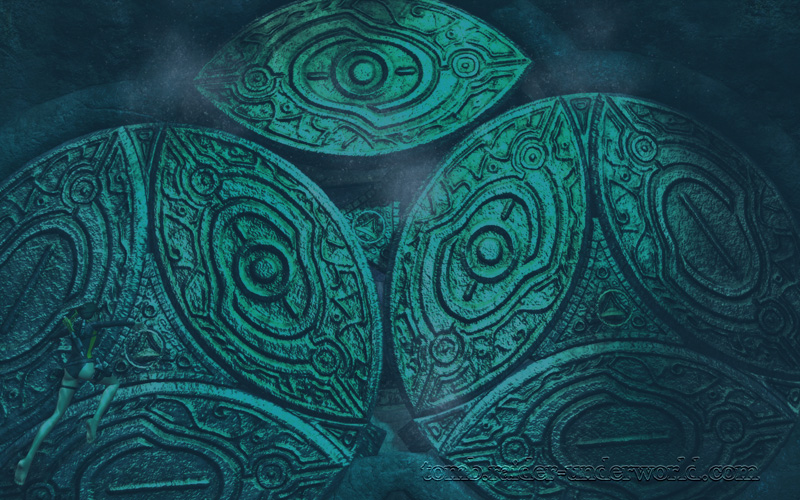
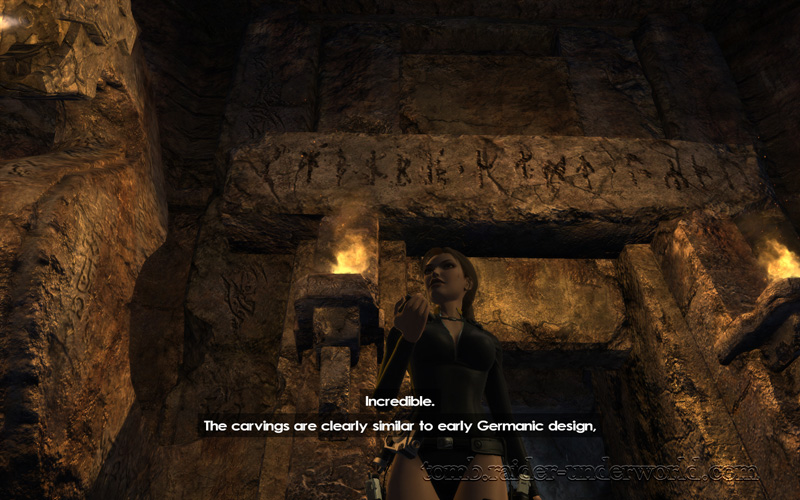
When they're in the right position it will open up ... and you can swim through. Quite cool really. Follow the new channel and get out of the water. Time to watch Lara nice and wet ..

Tomb Raider Underworld walkthrough Mediterannean Sea - The Path to Avalon Lara wet screenshot

Tomb Raider Underworld walkthrough Mediterannean Sea - The Path to Avalon Lara wet costume screenshot

Ok, time to snap out of it and get back to action ... yeah, bad word for it, I know. Anyway, head through the tunnel.

Tomb Raider Underworld walkthrough Mediterannean Sea - The Path to Avalon Lara tunnel screenshot

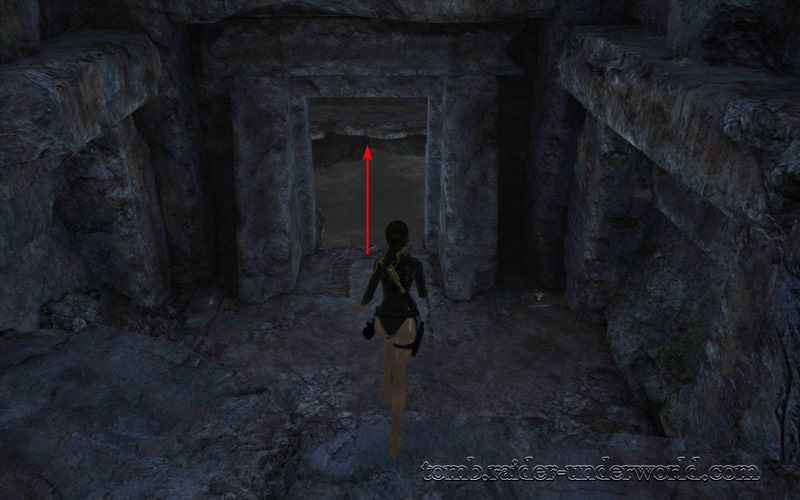
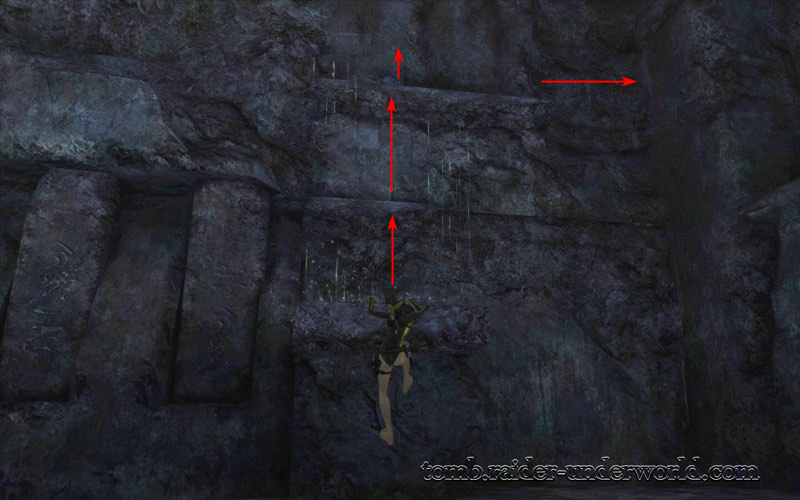
Use the block ahead to climb - you'll find a health pack on it too. You don't need to jump and grab the ledge if you're not looking for the artifact, but then again, it is fun.

Tomb Raider Underworld walkthrough Mediterannean Sea - The Path to Avalon screenshot

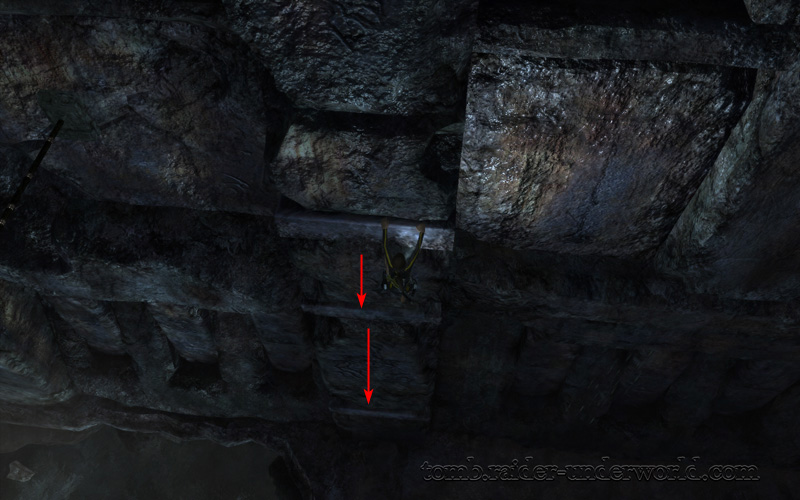
Use the ledges to get higher.

Tomb Raider Underworld walkthrough Mediterannean Sea - The Path to Avalon ledge climb screenshot

Tomb Raider Underworld walkthrough Mediterannean Sea - The Path to Avalon ledge jump screenshot

Tomb Raider Underworld walkthrough Mediterannean Sea - The Path to Avalon ledge screenshot

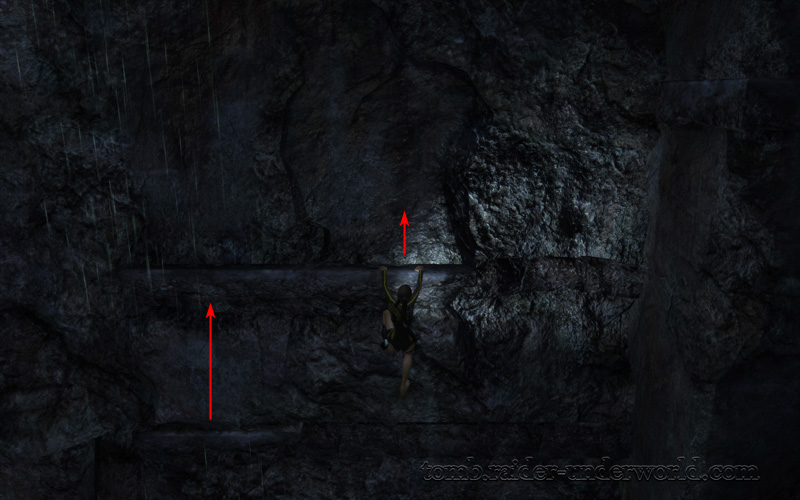
Jump up and Lara will sit on the last ledge, from there you can get to other ledge on the right.

Tomb Raider Underworld walkthrough Mediterannean Sea - The Path to Avalon sit ledge screenshot

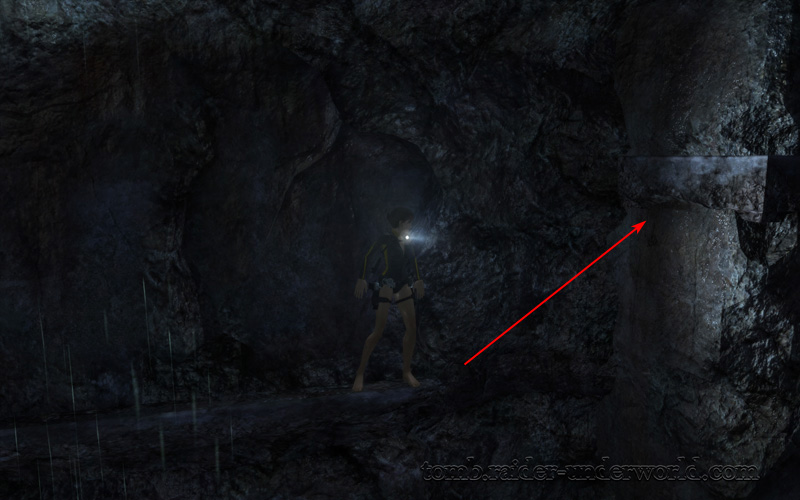
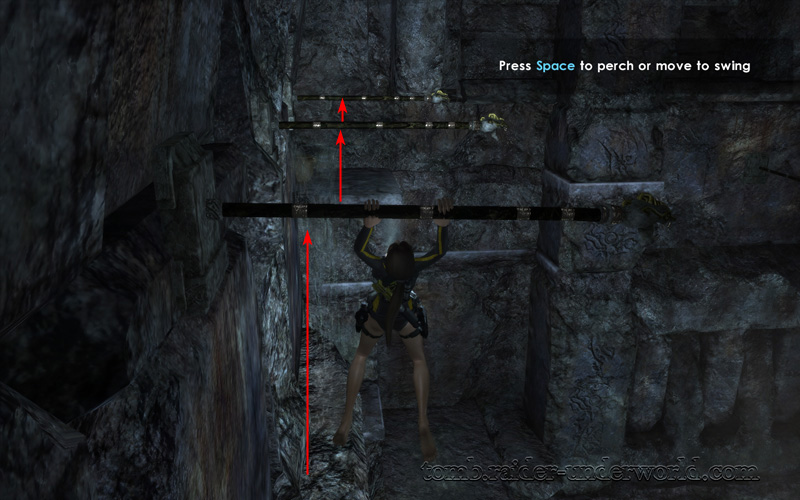
Follow the path marked and get to the pole, use that to swing across.

Tomb Raider Underworld walkthrough Mediterannean Sea - The Path to Avalon pole swing screenshot

Tomb Raider Underworld walkthrough Mediterannean Sea - The Path to Avalon pole jump screenshot

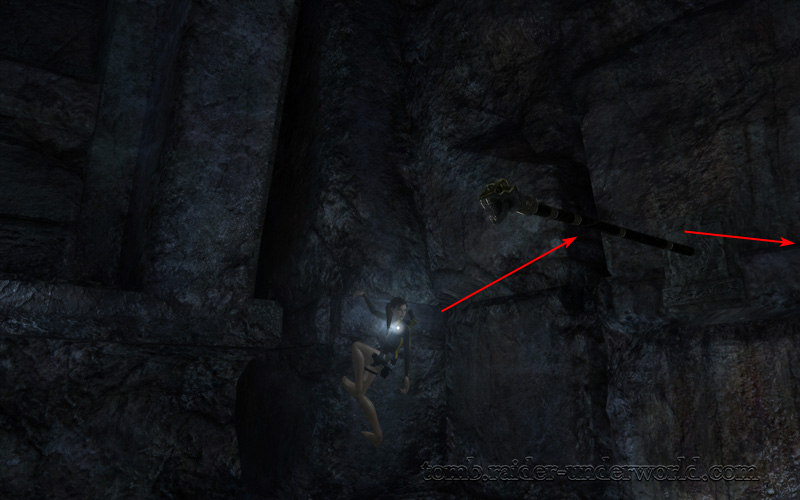
There should be 3 poles, swing from one to another.

Tomb Raider Underworld walkthrough Mediterannean Sea - The Path to Avalon 3 poles swing screenshot

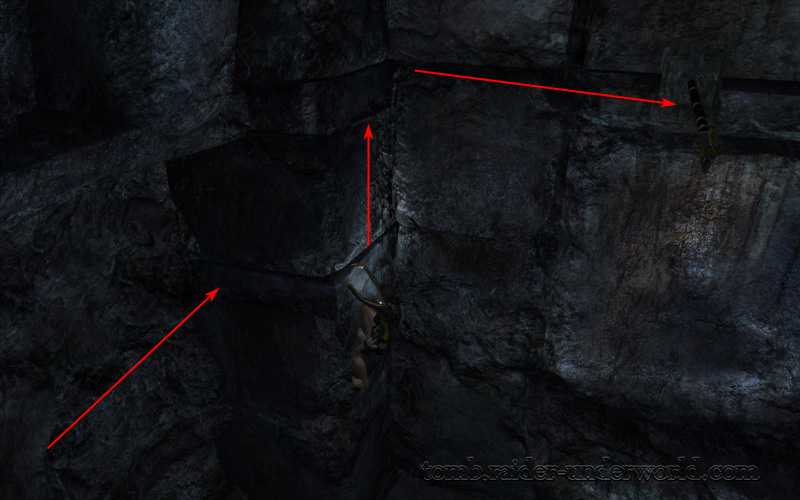
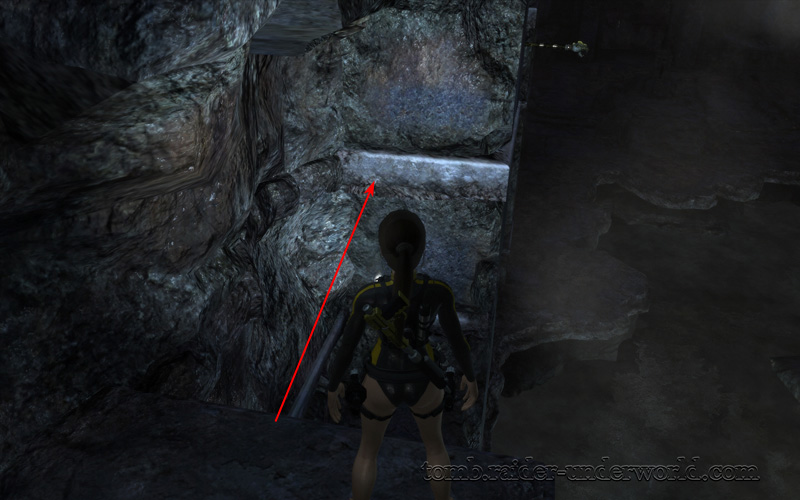
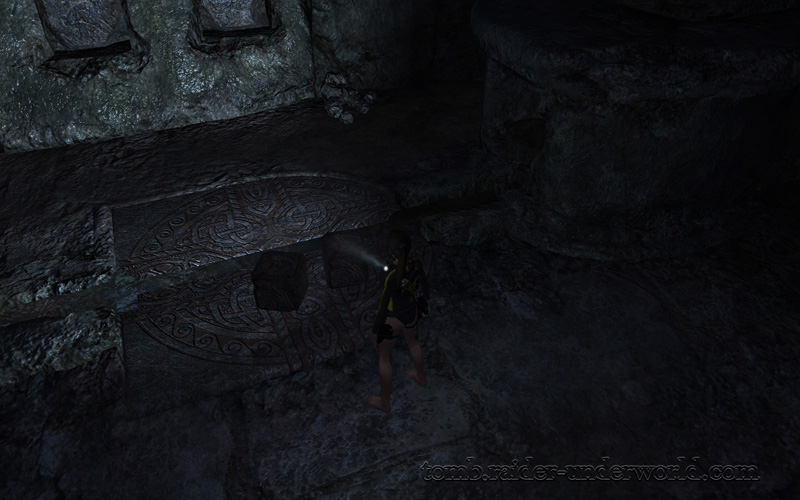
You should find an artifact in a jar over there, grab it and continue to the ledge ahead.

Tomb Raider Underworld walkthrough Mediterannean Sea - The Path to Avalon artifact jar screenshot

Tomb Raider Underworld walkthrough Mediterannean Sea - The Path to Avalon artifact jump screenshot

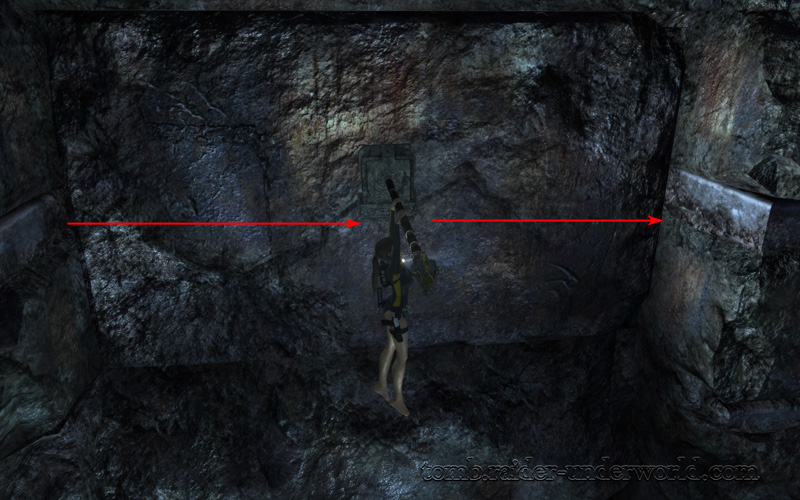
Get back down and continue towards the door and switch.

Tomb Raider Underworld walkthrough Mediterannean Sea - The Path to Avalon door switch screenshot

Grab the two small boxes and position them on the left pad.

Tomb Raider Underworld walkthrough Mediterannean Sea - The Path to Avalon boxes pad screenshot

Get in front of the other pad and use the grapple on the hook, the dragon/snake head will fall and keep the second pad activated. The position is quite important otherwise the grapple won't work!

Tomb Raider Underworld walkthrough Mediterannean Sea - The Path to Avalon grapple pad screenshot

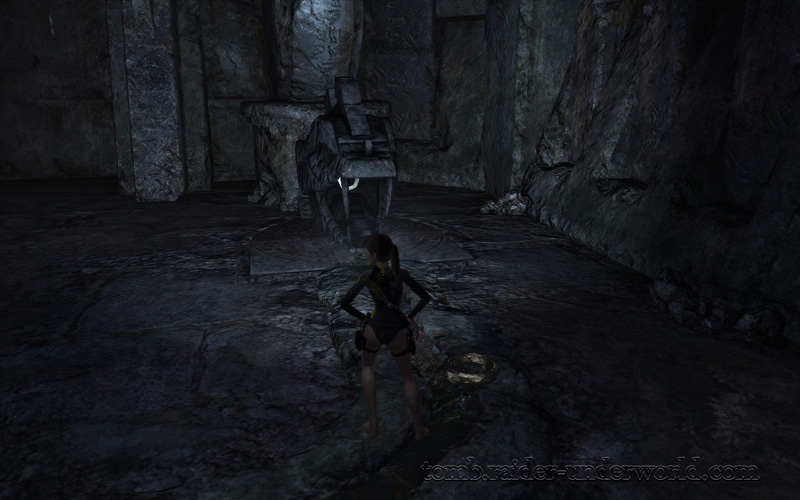
Use the middle switch now and tada ... the door will open.

Tomb Raider Underworld walkthrough Mediterannean Sea - The Path to Avalon switch open door screenshot

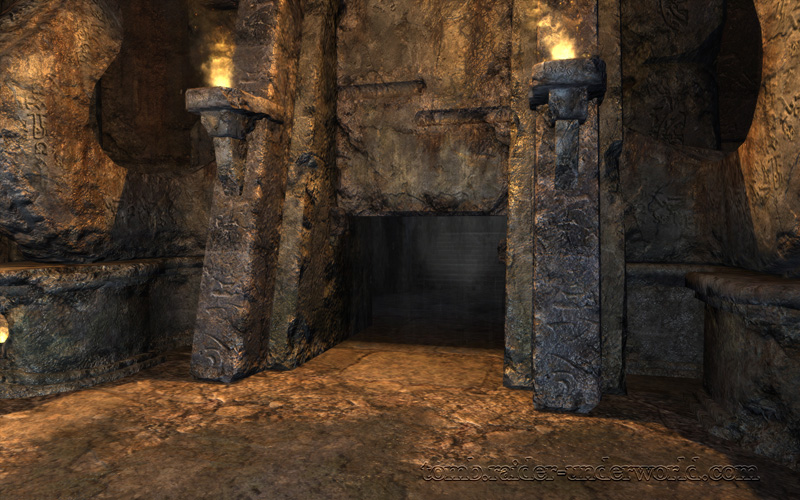
Enjoy the cinematic and head for the next level: Nifleheim.

Tomb Raider Underworld walkthrough Mediterannean Sea - The Path to Avalon Nifleheim screenshot

« Prologue: No illusions | Niflheim »